Using the manifest to view pickup routes
Last updated: July 27, 2022
For companies using Transportation, the manifest is an easy way to view daily pickup routes and check in customers.
View options
To view a route from your manifest, first select the “Transportation” manifest view (located next to the date), then choose your route(s) from the second dropdown.

Note: By default, only routes that are being used on the current day will be shown.
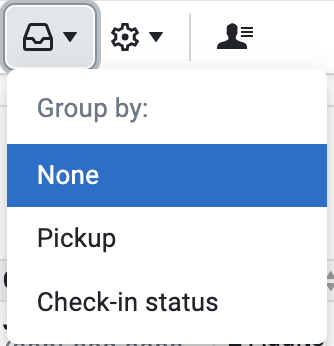
Optional: You can further group the bookings on your manifest by pickup or check-in status using the Group icon.

Tip: You can customize the information shown in your manifest, then save your settings as a custom manifest to easily access them later.
Checking in customers
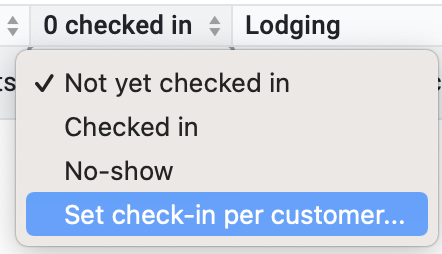
To check in a single party on the manifest, click the check-in column for that booking, and choose the check-in status (or, set the check-in status per customer).

Once the party has been checked in, the row will be highlighted in green.
To check in all parties at a pickup location, simply click the summary at the top of the check-in column (directly below the column header), and choose the check-in status.

Printing
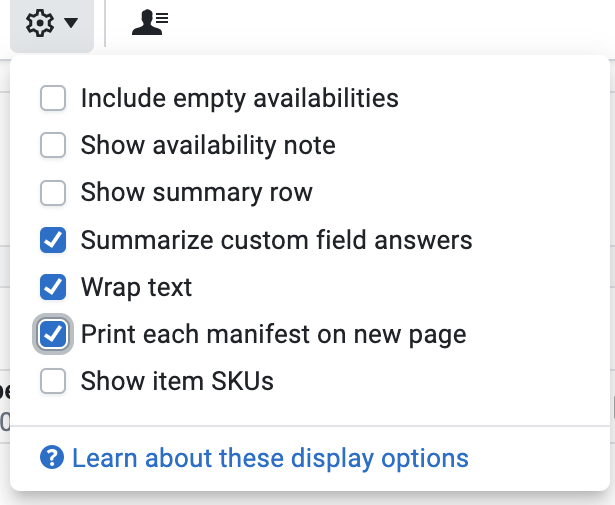
When printing routes from your manifest, you have the option to print each route on a separate page. To do this, open the Display options menu and check the box next to “Print each manifest on a new page.”

Reordering pickups
If you need to add, remove, or reorder the pickup stops in a route, you can do so by going to Settings > Transportation > Routes and clicking Edit » next to the route you want to update. Learn more about reordering pickups.