Navigating the Dashboard
Last updated: September 16, 2019
To help you fully take advantage of our help pages, here is a list of basic terminology that we use when navigating through the FareHarbor Dashboard.
Note: All navigation elements mentioned here are available in both the desktop and mobile versions of FareHarbor. However, when using a smartphone or tablet, certain parts of the Dashboard may appear in a mobile-optimized format that looks different from the images below.
Dashboard Menu Bar
This is the main menu bar across the top of your Dashboard, which allows you to quickly navigate to commonly-used sections like Bookings and the manifest.

Note: Depending on your permissions, you may not see all of the options listed above.
From the Dashboard Menu Bar you can also click on your name to see an overview of your activity, update your account settings, or log out.
Sidebar
When viewing your Dashboard on a computer, this menu on the left side of the screen includes all of the available options within a certain section of your Dashboard.
You’ll see this sidebar when working with your main Dashboard Settings, an individual item’s settings, or the Reports section.
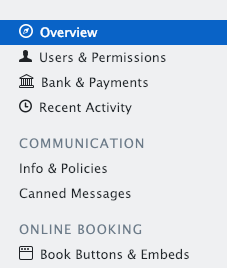
When using FareHarbor on a mobile device, this sidebar will be displayed as a dropdown menu instead.
Toolbars
Some sections of the Dashboard include a toolbar located below the Dashboard Menu Bar. The options on the toolbar will vary depending on which section you’re viewing. See some examples below.

Bookings toolbar: The bookings toolbar includes many different options for viewing the Bookings section of your Dashboard, including filters, display options and custom calendars. This toolbar also includes the option to search bookings and view recent bookings.
Manifest toolbar: The manifest toolbar lets you adjust the display options for your manifest. You can also save a set of options using the custom manifest menu.
Reports toolbar: Individual reports have their own toolbar. Some options, like the report type selector, will be displayed on every report toolbar. Other options and menus are only available for certain reports.

Menus
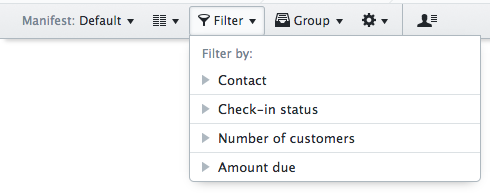
There are different types of menus within FareHarbor, but a common example is the type of menu shown below. The small black triangle next to the name indicates that you can click to open the menu. Similarly, click on a section within the menu to expand it.
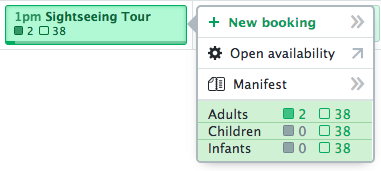
Another type of menu is the flyout menu, which is what you see when choosing an availability from the Bookings section.
Tabs
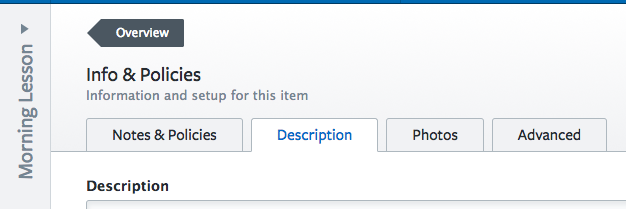
Some parts of the Dashboard are split up into different sections organized by tabs. You’ll see these most often when working with your item or Dashboard settings.
For example, you can update an item’s description by navigating to the “Description” tab within the “Info & Policies” section:
Availabilities
An availability refers to a specific date and time that an item can be booked. Availabilities can be visually represented in different ways in the Bookings section of your Dashboard (depending on your display preferences).
Here’s a simple example of an availability that can be booked:

When you open an availability from the Bookings section of the Dashboard, this is called the availability overview:
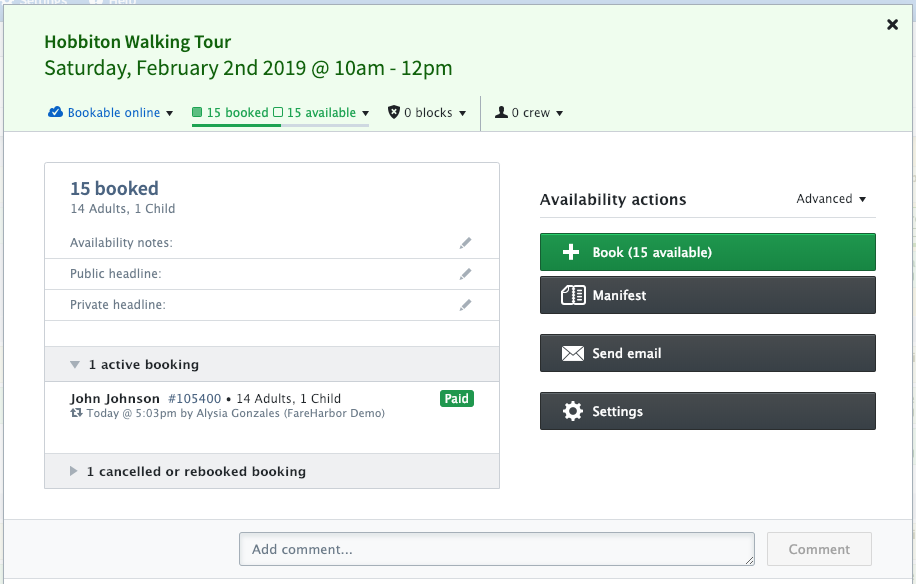
The availability overview is organized into menus, sections and tabs.
Menus are listed near the top, below the date and time. Here you’ll see the booking status menu, capacity menu, block menu, and crew menu.
Actions are listed on the right side side — Book, Manifest, Send email, and Settings.
Book form
The book form is used to collect customer information and create a booking. It can be used by both online customers and logged-in Dashboard users. Depending on who is creating the booking, certain parts of the book form may or may not be visible.
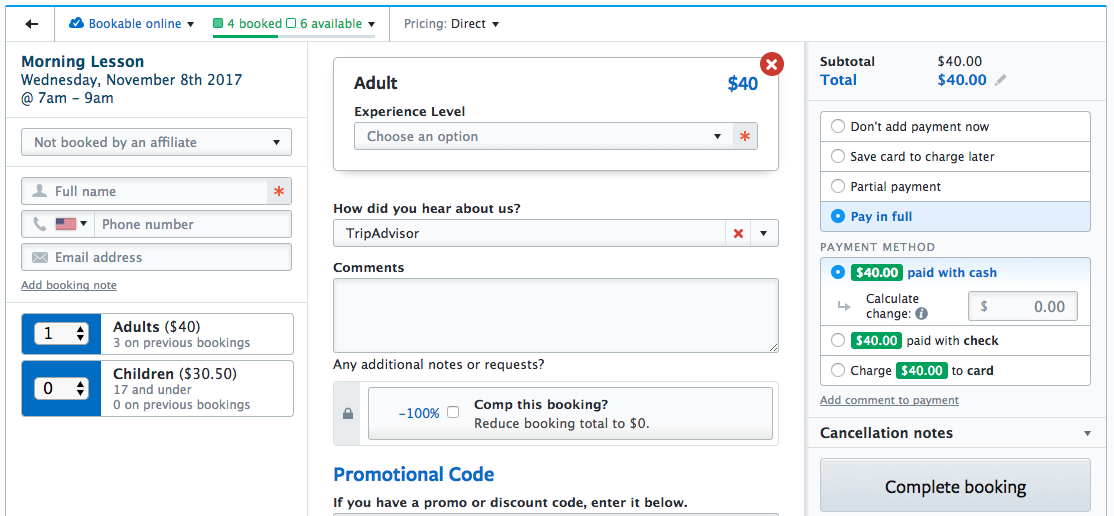
This is an example of how the book form may look to a logged-in Dashboard user.
Booking overview
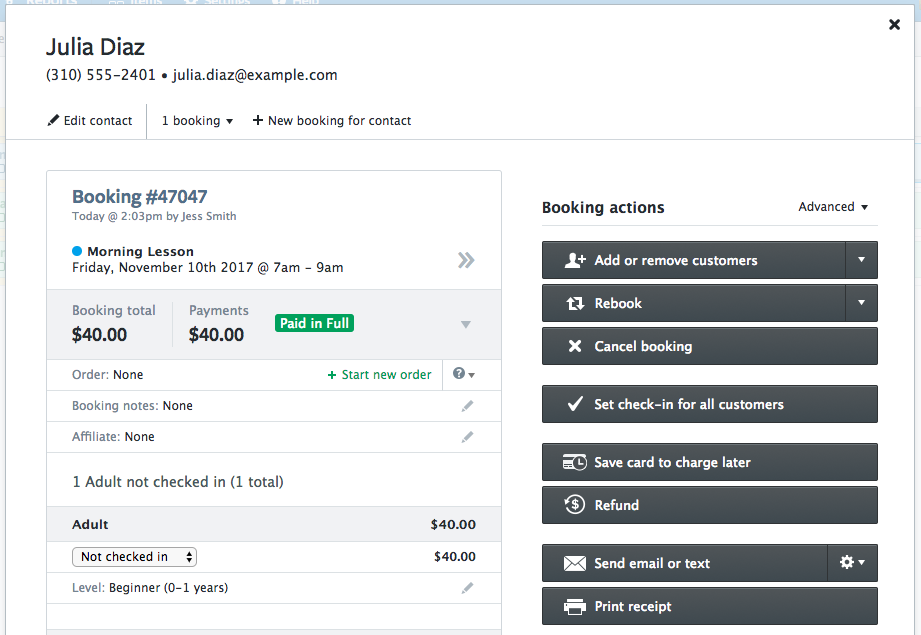
The booking overview contains all the details of a completed booking, including customer contact information, availability date and time, payment details, and affiliate details (if applicable).
The booking overview also includes a list of booking actions, which let you perform additional tasks on the booking like adding a payment or sending the customer an email.
